

Overview summary
In an era where technology is seamlessly woven into our everyday routines, it is crucial to envision its impact on the future. One field that holds immense promise is Artificial Intelligence (AI) 🤖 and the significance of AI-based applications has skyrocketed with the advent of sophisticated platforms like ChatGPT.
Moving forward to this, we will explore the fundamentals of ChatGPT and its integration with Node.js and React.js. By combining these technologies, we can create intelligent chatbots that revolutionize industries and enhance user experiences.
Let’s dive in! 👇
Introduction
In today’s digital landscape, chatbots have gained immense popularity and are being utilized across various domains, ranging from customer support to personal assistance. This blog post aims to demystify the process of building an advanced chatbot similar to ChatGPT, leveraging the power of the OpenAI ChatGPT API. Whether you’re a beginner or an experienced developer, our explanation will guide you through each step with practical examples of code to ensure smooth learning.
Let’s take a quick refresher on the basics of ChatGPT before we dive into the step-by-step integration process with Node.js and React.js.
Understand ChatGPT
ChatGPT is an AI-powered chatbot platform created by OpenAI. It uses a powerful language model called GPT-3, which is trained on a lot of text from different sources. This language model is great at understanding and generating human-like text.
ChatGPT makes it easy to build chatbots that can have natural conversations with users. It can write, summarize, translate, and answer questions, making it very versatile. With ChatGPT, developers can create chatbots that feel like talking to a real person. It’s also customizable and can be integrated into different apps and platforms, so users can have a personalized experience when interacting with the chatbot.
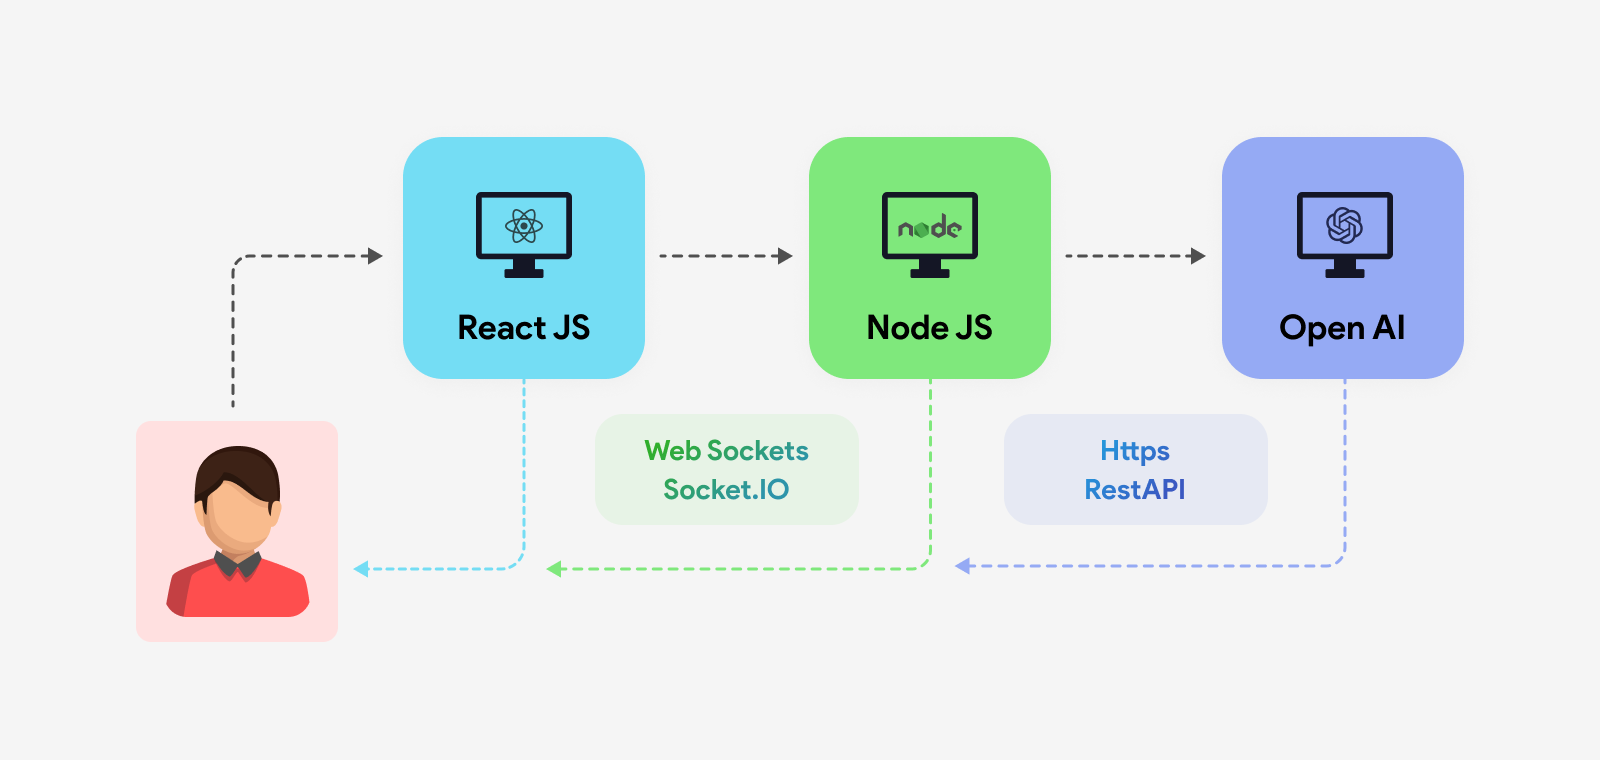
Let’s explore the flow of integrating ChatGPT with Node.js and React.js to build an intelligent chatbot
Now that we have a clear understanding of ChatGPT and the integration flow, let’s dive into the process of integrating ChatGPT with Node.js and React.js to build an intelligent chatbot.
The overall architecture of the system is as follows: When a user sends text to the chatbot, it is connected to our Node.js server through a socket. The Node.js backend then makes a HTTPS request to the OpenAI server to generate an output based on the input text. The generated output is then shared with the end user through the socket. This process is illustrated in the following diagram.
Step 1: Getting the API Key from OpenAI
To begin, you’ll need to obtain an API key from OpenAI. This key allows you to access the ChatGPT API and integrate it into your chatbot application. Visit the OpenAI website and follow their instructions to acquire the API key.
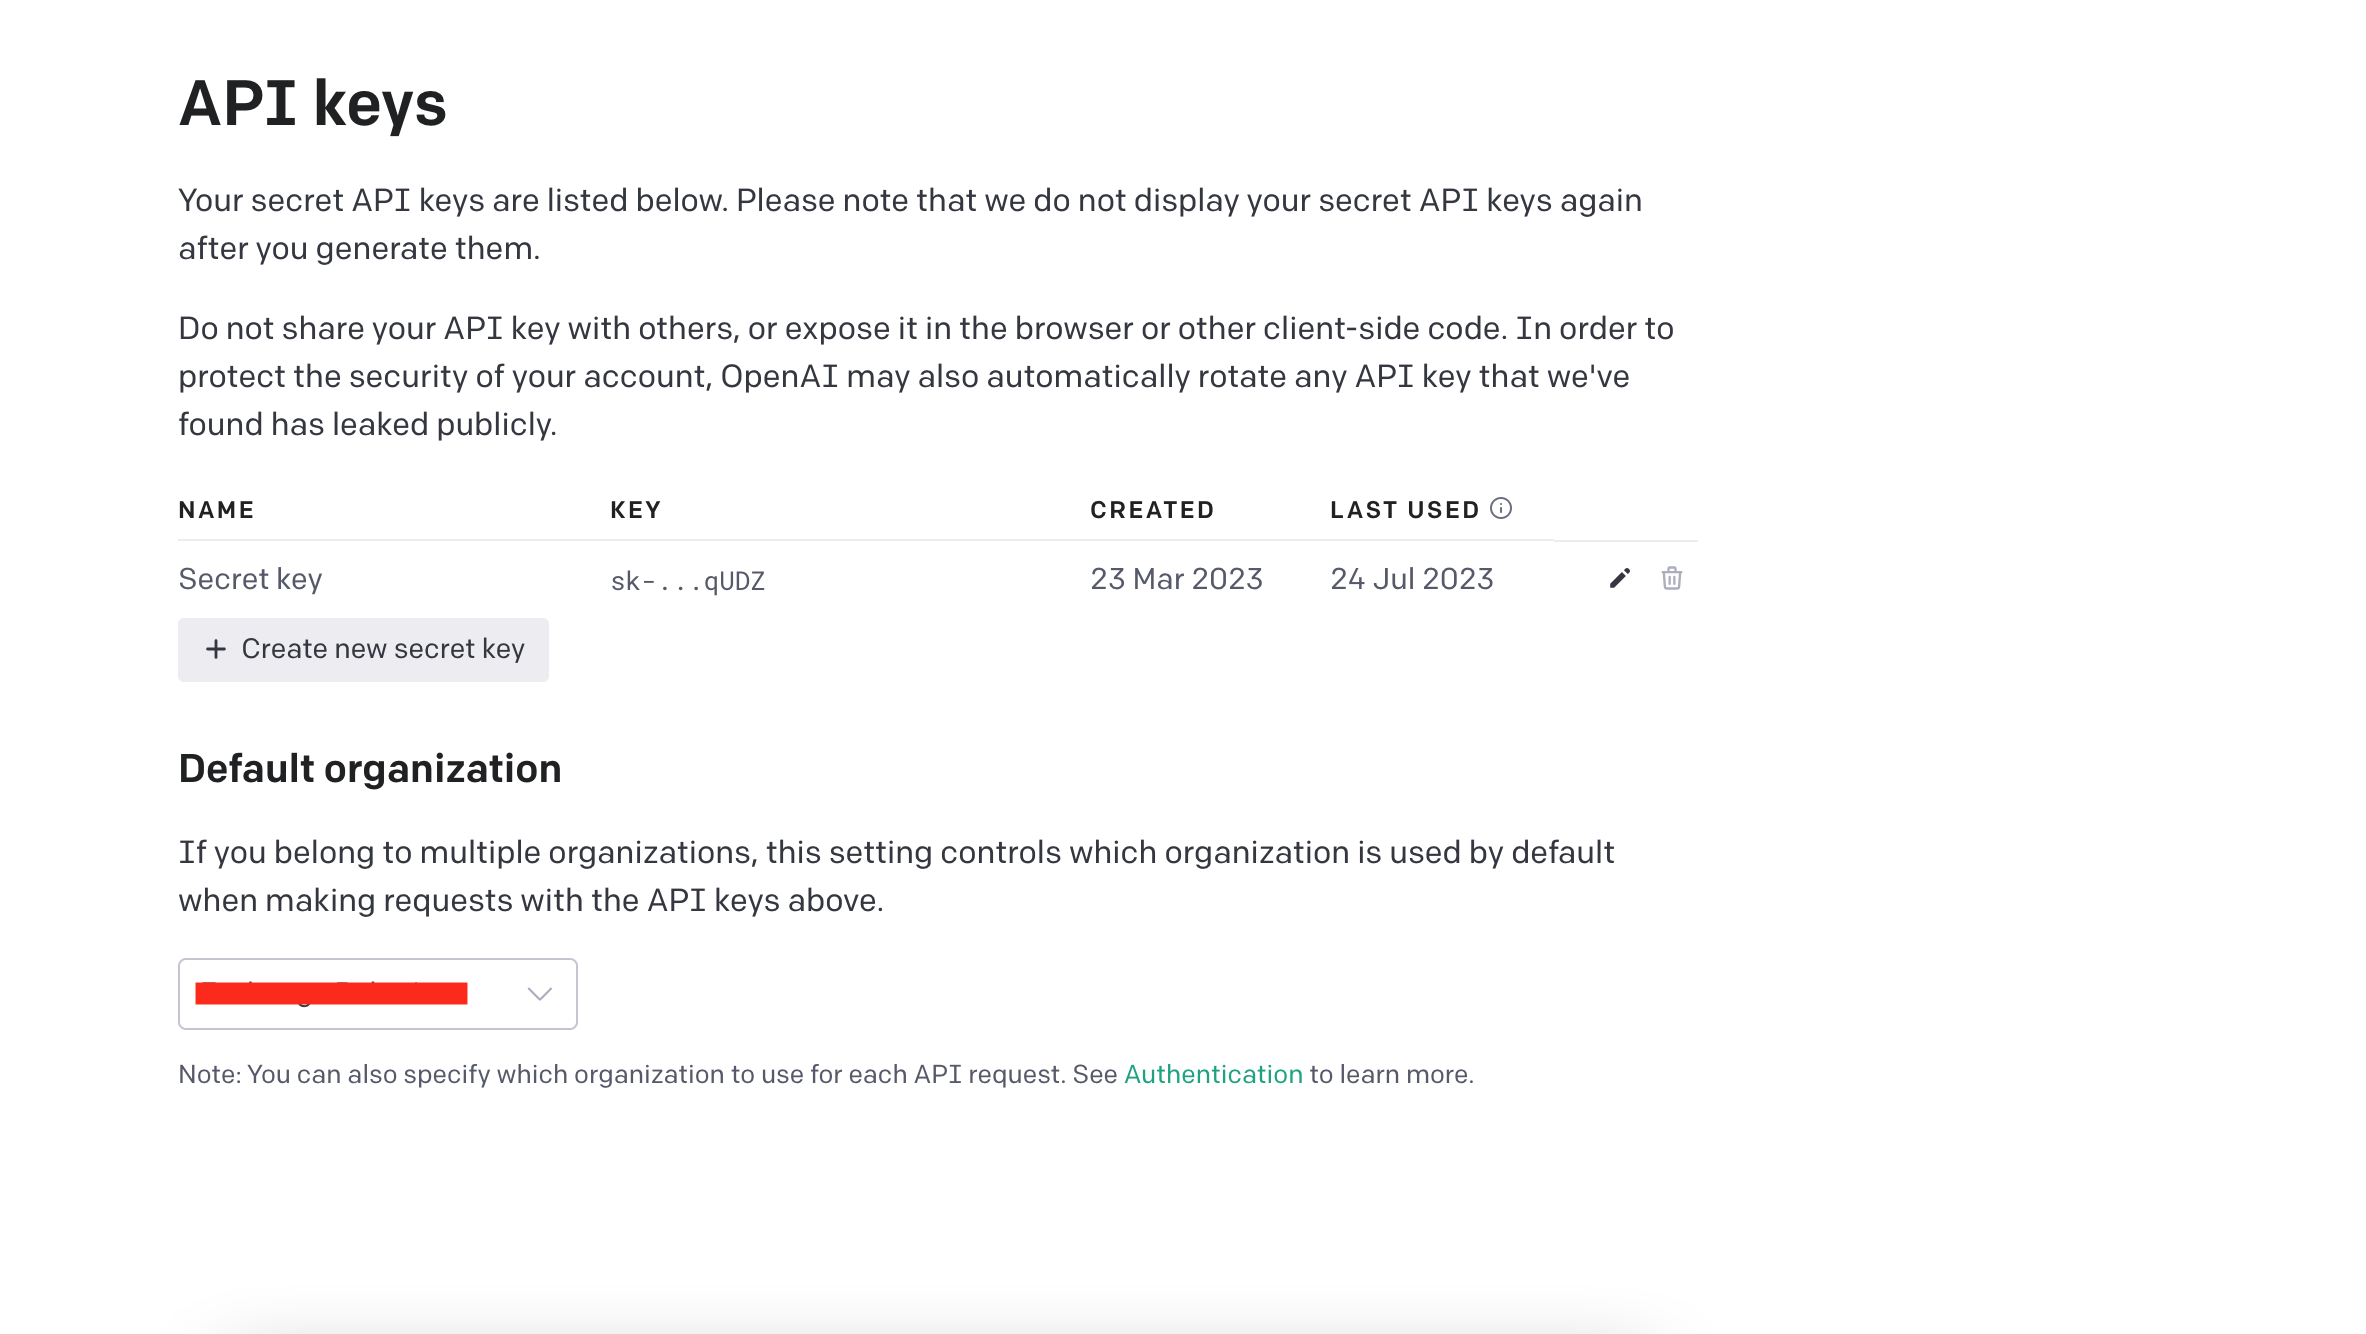
Copy the key and keep it safe with yourself. We will need those in the future to communicate with OpenAI’s REST APIs.
Step 2: Create a new project in Node.js
Before diving into the code, let’s set up the backend project. Open your favorite text editor and create a new file called “index.js”. Start by importing the necessary dependencies:
const express = require("express");
const app = express();
const http = require("http");
const server = http.createServer(app);
const cors = require("cors");

app.use(cors());

const socket = require("socket.io");
const { Configuration, OpenAIApi } = require("openai");
Create a socket.io server and define the connection and message event handlers:
const configuration = new Configuration({
  apiKey: "YOUR_API_KEY",
});
const openai = new OpenAIApi(configuration);
Create a socket.io server and define the connection and message event handlers:
const io = new socket.Server(server, {
  path: "/api/socket.io",
  cookie: false,
  cors: { credentials: true, origin: true },
});

const chatHistory = [];
io.on("connection", (socket) => {
  socket.on("sendMessage", async (data) => {
    chatHistory.push({ role: "user", content: data.message });
    const chatCompletion = await openai.createChatCompletion({
      model: "gpt-3.5-turbo",
      messages: chatHistory,
    });

    socket.emit("receiveMessage", {
      message: `${chatCompletion.data.choices[0].message.content}`,
    });
    chatHistory.push(chatCompletion.data.choices[0].message);
  });

  socket.on("disconnect", () => {
    console.log("Disconnected");
  });
});

server.listen(5000, () => {
  console.log("Server listening on port 5000");
});
This above code sets up a server using Express.js and creates an HTTP server. It also enables Cross-Origin Resource Sharing (CORS) using the cors middleware.
Then, it imports the necessary dependencies for socket communication and the OpenAI API.
The OpenAI API is configured and initialized with your API key.
A socket.io server is created and configured with options such as the server path, cookie settings, and CORS configuration.
The server listens for a connection event and handles the “sendMessage” event. When a client sends a message, it adds the message to the chat history and uses the OpenAI API to generate a response. The response is then sent back to the client using the “receiveMessage” event. The chat history is updated with the generated response.
Finally, the server listens on port 5000 and logs a message when it starts running.
Step 3: Creating the Frontend Project.
Now that the backend is set up, let’s move on to the front-end. In your favorite text editor, we will be using React.js for that. Create a new file called “index.js”. Import React and the necessary dependencies:
import React from "react";
import ReactDOM from "react-dom/client";
import App from "./App";
Render the root component using ReactDOM:
const root = ReactDOM.createRoot(document.getElementById("root"));
root.render(
  <React.StrictMode>
    <App />
  </React.StrictMode>
);
Create a new file called “App.js” and import the socket component:
import { SocketConnect } from "./components/socket";

function App() {
  return (
    <div className="App">
      <SocketConnect />
    </div>
  );
}

export default App;
Step 4: Implementing the Socket Component
In the “components” directory, create a new file called “socket.jsx”. Import the necessary dependencies:
import { useEffect, useState } from "react";
import io from "socket.io-client";
import "./socket.css";

const socket = io("http://localhost:5000", {
  path: "/api/socket.io",
});
Export the SocketConnect component:
export const SocketConnect = () => {
  const [message, setMessage] = useState("");
  const [chatList, setChatList] = useState([]);
  const [loader, setLoader] = useState(false);

  socket.on("receiveMessage", (data) => {
    const newList = [...chatList, { role: "server", message: data.message }];
    setChatList(newList);
    setLoader(false);
  });

  useEffect(() => {
    socket.on("connect", () => {
      console.log("Connected");
    });
  }, [socket]);

  function handleSubmit() {
    socket.emit("sendMessage", { message });
    const newList = [...chatList, { role: "client", message: message }];
    setChatList(newList);
    setMessage("");
    setLoader(true);
  }

  function handleInputText(e) {
    const value = e.target.value;
    setMessage(value);
  }

  return (
    <div>
      <div className="chat-container">
        {chatList.map((chat, index) => {
          return (
            <div
              key={index}
              className={
                chat.role === "client"
                  ? "message sender-message"
                  : "message receiver-message"
              }
            >
              <p>{chat.message}</p>
            </div>
          );
        })}
      </div>
      <div className="input-container">
        <input
          type="text"
          value={message}
          placeholder="Type your message"
          onChange={handleInputText}
        />
        <div>
          <button onClick={handleSubmit}>
            {!loader ? "Send" : <div id="loader" className="loader"></div>}
          </button>
        </div>
      </div>
    </div>
  );
};
Step 5: Running the Application
To run the chatbot application, follow these steps:
In the terminal, navigate to the backend project directory and run the following command to install the required npm packages:
npm install cors express openai socket.ioStart the backend server by running the command:
node index.jsIn a new terminal window, navigate to the frontend project directory and install the necessary npm packages:
npm install react react-dom react-scripts web-vitals socket.io-clientStart the frontend development server:
npm startConclusion
Congratulations! You have successfully created a chatbot similar to ChatGPT using the OpenAI ChatGPT API. In this blog post, we covered the steps to set up the backend and frontend projects, integrate the OpenAI API, and establish a socket connection between them. Now, you can enhance the chatbot’s functionality and design to meet your specific requirements. Enjoy building your chatbot!
Hire full-stack developers to assist you in integrating ChatGPT into your chatbot project. Their expertise will support your web application journey and provide confidence for your next project.
Note: Remember to replace “YOUR_API_KEY” in the backend code with your actual OpenAI API key.
For Code Reference visit the GitHub Repository.
Frequently Asked Questions (FAQs)
The integration involves setting up the development environment, creating the chatbot UI in React, implementing the backend with Node.js, integrating the ChatGPT API, managing conversation context, and deploying the chatbot.
Yes, you can integrate ChatGPT with other frontend frameworks like Vue.js or even use plain JavaScript for the frontend.
Yes, you can deploy the Node.js server and React frontend on cloud platforms like AWS, Heroku, or others. These platforms provide scalable hosting solutions that allow your chatbot to be accessible to users.
No, prior knowledge of machine learning is not required for integrating ChatGPT with Node.js and React. However, basic familiarity with Node.js and React will be helpful.
To handle API requests in Node.js for integrating with OpenAI’s ChatGPT API, follow these steps:
1. Install dependencies
2. Obtain API credentials.
3. Set up a Node.js server using Express.js or the built-in `http` module.
4. Define API routes to handle incoming requests.
5. Use libraries like `axios` to make requests to the ChatGPT API.
6. Process the API responses and extract relevant information.
7. Send the processed response back to the client.
8. Implement error handling to handle any potential errors.
9. Test the API endpoints using tools like Postman or automated tests.
By following these steps, you can effectively handle API requests in Node.js and integrate with the OpenAI ChatGPT API for building intelligent chatbots.